- January 6, 2023
Top Tips to Measure Your Project and Choose the Correct Eyelet
We use and encounter eyelets in our daily lives more than we can imagine. This might be true, but the shocker is few people know what they are, let alone what they're called.
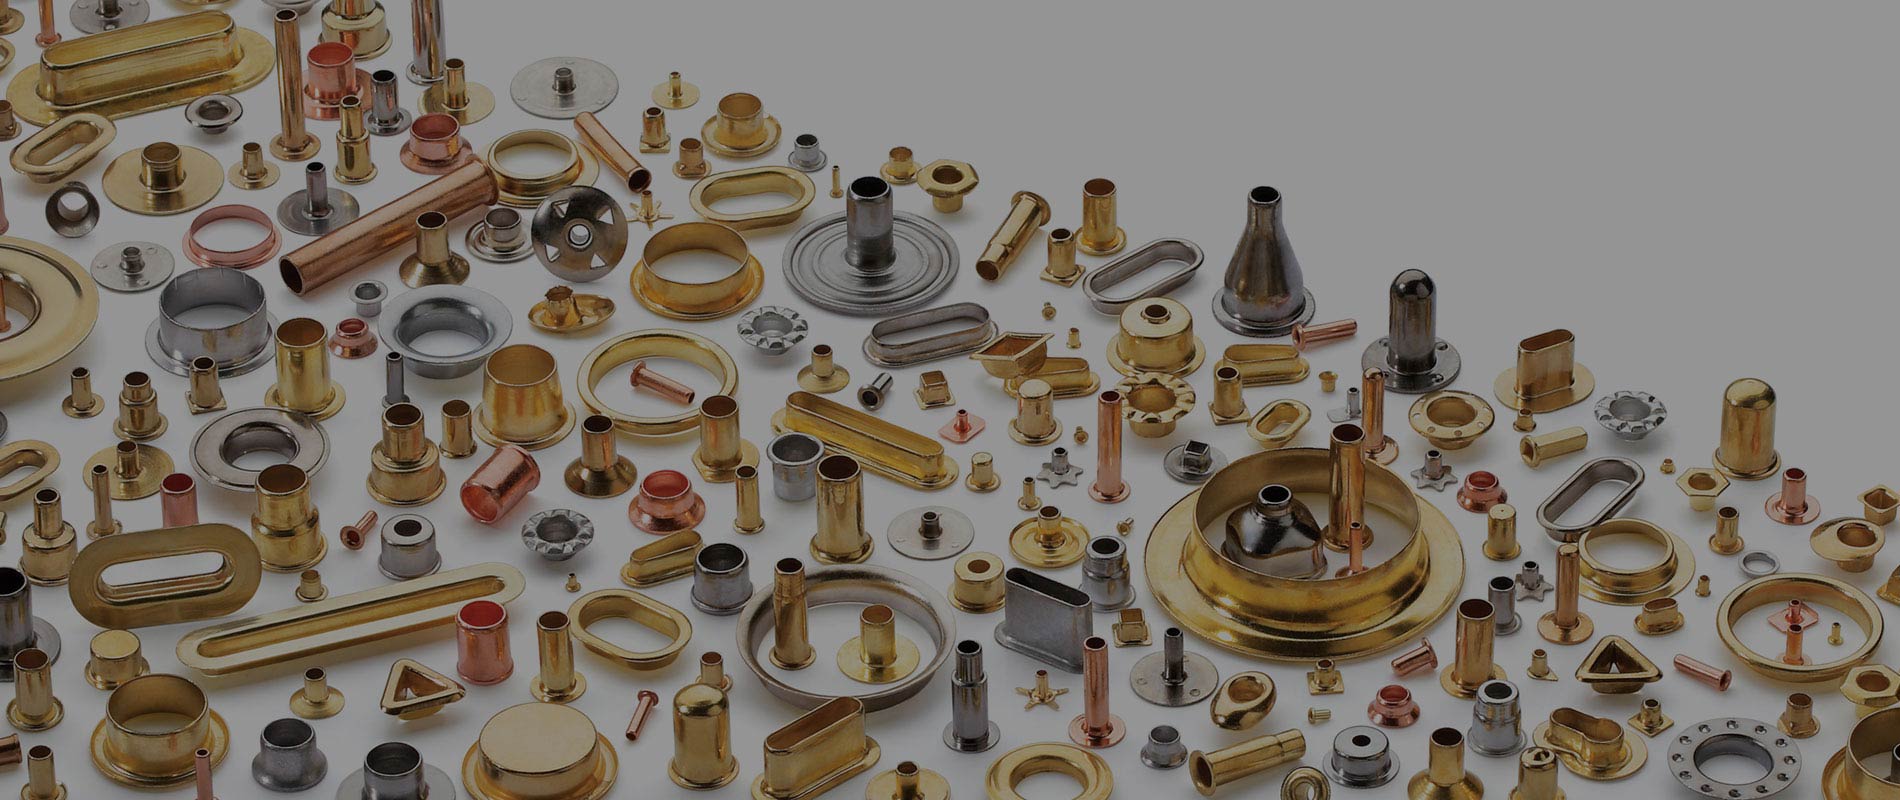
An eyelet is a small metal fastener, circular in shape that reinforces a hole or binds parts together in cloth, leather, paper, plastic, metal or vinyl. A common application for example are shoe laces on a sneaker are threaded thru eyelets. There are various types of eyelets:
- Shoe eyelets that are used in sneakers, some boots, and dance shoes
- Rolled flange eyelets that are used in everything from clothing to electronics
- Flat flanged eyelets that are used in tags and stationary
Buying eyelets is one thing. Calculating which ones to buy is another. Wrong measurements equal wrong results, so when gauging eyelets, you should be careful.
If you've got no clue on how to determine what eyelets you will need, you'll find the tips below very useful:
1. Use the Right Tools
Two instruments that you can use to measure your project and the eyelets are a caliper or a micrometer. If you are not familiar with a micrometer, they can be a little difficult to use. A digital caliper is the best pick. Eyelets in the United States are measured in thousands of an inch. In other countries, millimeters.
2. Measure your project
First, measure the diameter of the hole and the thickness of the material using your calipers. If you are in the United States you should be writing down your results in thousands of an inch since most eyelet sizes sold in the US are stated in thousands of an inch. For example a ¼ inch is .250 .
3. Select the Eyelet
The first measurement that you will be concerned with is the diameter of the barrel of the eyelet. This is the long part of the eyelet that fits into the hole in your project. The ideal barrel size will be .004 to .015 smaller than the hole size.
The second measurement you need to be concerned with is the thickness of your project. The barrel of the eyelet must fit all the way thru your work and be approx 2/32 of an inch or .062 longer than your project to allow for the eyelet to be set.
The third measurement of the eyelet is the flange. This is the wide part on top of the eyelet that you see when you look at it. The flange diameter is sometimes a matter of personal taste or aesthetics. If your project is small you may not want a large eyelet flange because it will look out of place. On the other hand if your material is stretchy, you would want a larger flange to give added holding strength.
Eyelets, like grommets can also be used with a backing washer for additional holding strength. If you are using a backing washer make sure you include the thickness of the washer in your thickness calculation as the eyelet will pass thru your project then thru the washer and then be set.
4. Ask for Help If You're Stuck
If, after trying out the first three tips, you still can't determine the right measurements for your preferred eyelet, you can always seek assistance.
You could get it from a professional. There are plenty of reliable online platforms where you can get the assistance you need.
One of them is Siska Inc. Here, you get access to highly trained customer service representatives who can guide you thru the proper selection of eyelets, grommets and rivets and also recommend the proper tools and machines to set them.
What's more, we have a Help Center where you can find out all there is to know about eyelets. At Siska, Inc., we offer quality customer service and experienced staff to help you get the machine or fastener you need quickly and economically. We're just a click away!
